My best gluten-free baking tips
Welcome to the crew. These are the tips I actually reach for on every bake — the ones that fix most gluten-free and vegan problems before they start. Start here, then dig into the deep dives.
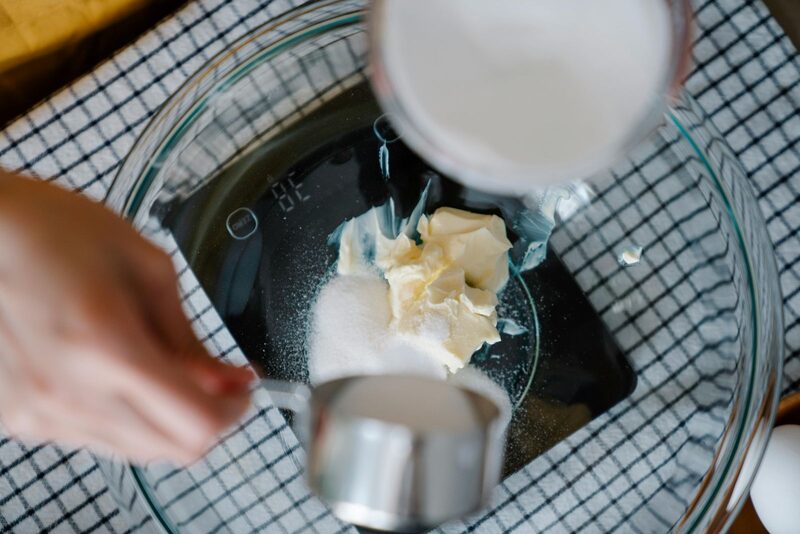
If you take nothing else from this page, take the first three. They fix more bad bakes than anything else I know. Everything after that is the next layer — click through when you want the why.
1. Weigh your flour
Cups lie. A "cup" of gluten-free flour can swing 30 grams depending on how you scoop, and 30 grams is the difference between a moist muffin and a hockey puck. Buy a $12 scale and weigh in grams. This single habit is the biggest jump in consistency you'll ever make. More on why texture starts here: flour handling for better texture.
2. Let the batter rest

Gluten-free flours drink slowly. Mix your batter, then walk away for 20–30 minutes before you bake. The flours hydrate, the grittiness disappears, and the crumb sets up soft instead of sandy. Free step, big payoff.
3. Bind it right — flax or psyllium, not more gum
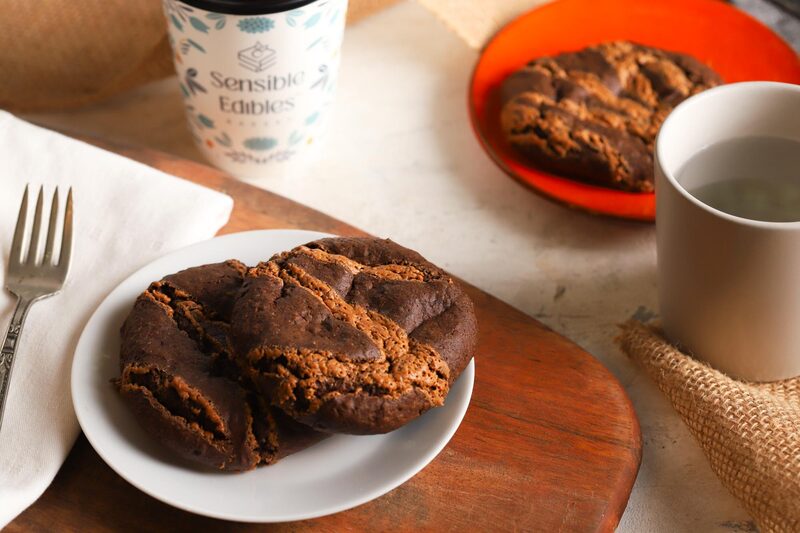
When a GF bake crumbles, the instinct is to dump in more xanthan. Don't. Ground flax and psyllium husk hold structure without the gummy, gluey texture too much gum leaves behind. Here's the full breakdown of what actually holds a bake together: binders for better gluten-free baking.
4. Know your leaveners
Baking soda and baking powder are not interchangeable, and using the wrong one (or too much) is why bakes taste soapy or collapse. Quick rule of thumb here: baking soda vs. baking powder — and the bigger picture in leaveners in gluten-free baking.
5. Add the baking powder last
Baking powder starts working the moment it hits moisture. Whisk it into your dry mix last, right before the wet goes in, so you don't spend its lift stirring. Small tweak, better rise: why I add baking powder last.
6. Don't skimp on the fat
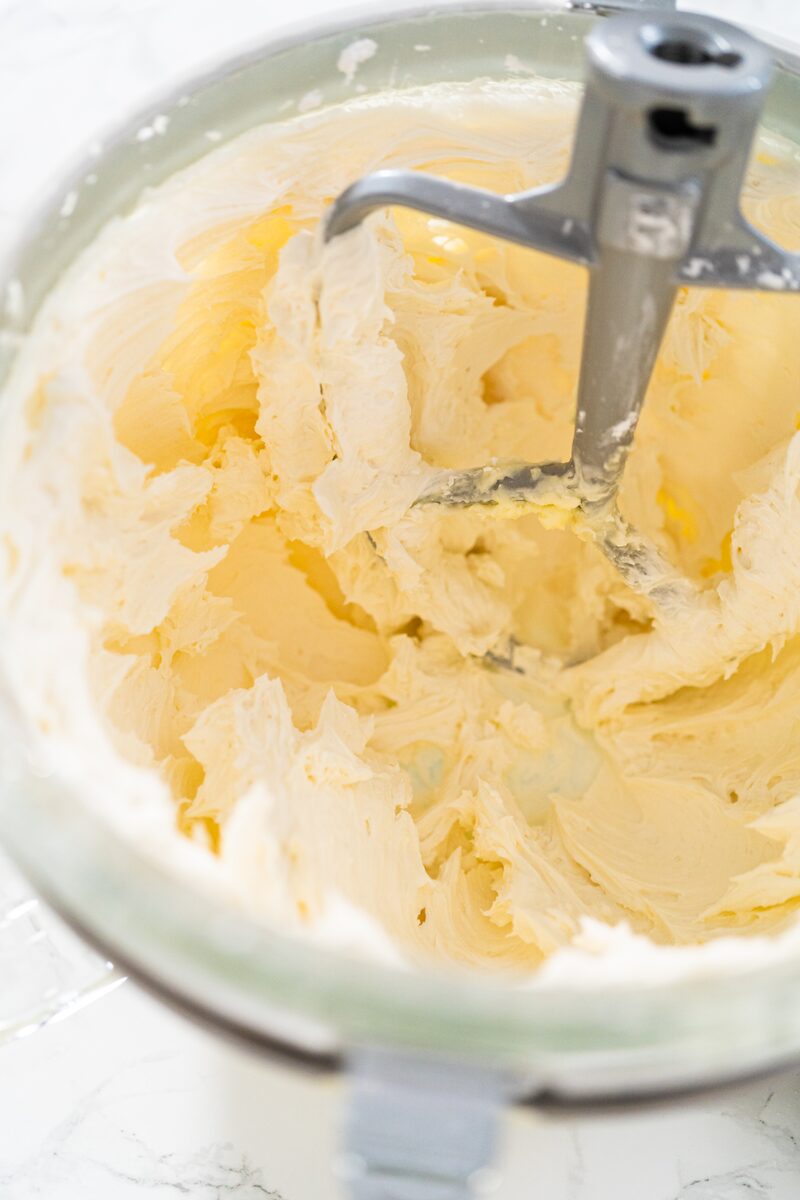
Fat is what makes gluten-free taste rich instead of dry and cardboardy. And the fat you pick matters — a runny nut butter and a stiff one bake completely differently. Read the jar before you scoop: don't skimp on the nut butter, and the wider role of fat in gluten-free baking.
7. Grease the pan like you mean it
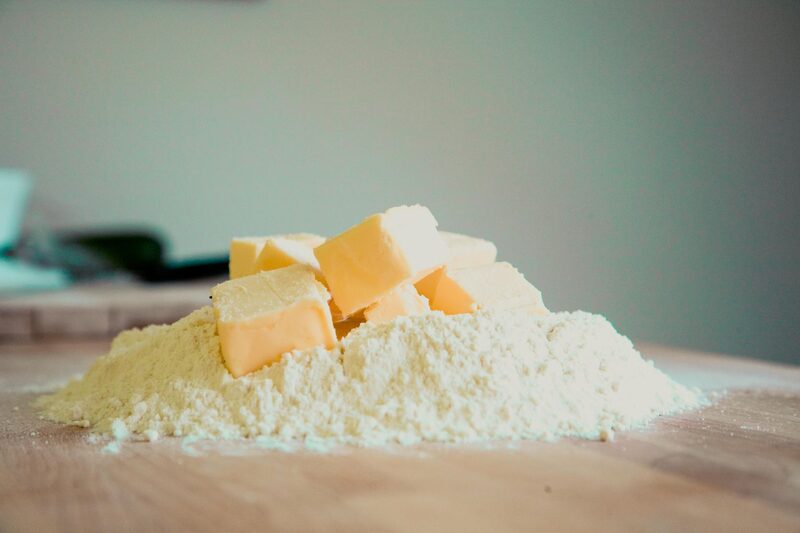
Nothing ruins a good bake like leaving half of it stuck in the tin. There's a right way to do it that gets a clean release every time: how to grease your pan like a pro.
8. Bake to temperature, not to time
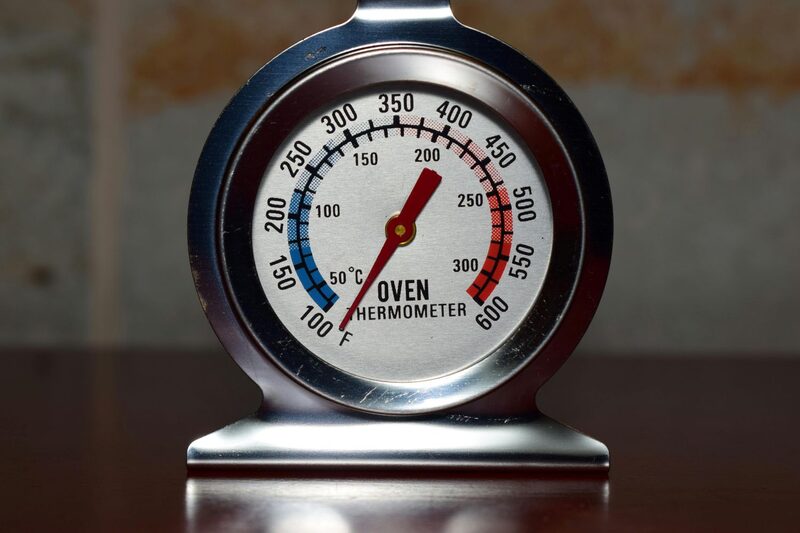
Ovens run hot, cold, and uneven, and gluten-free bakes hide their doneness. A cheap instant-read thermometer tells the truth: most cakes and muffins are done at 205–210°F in the center. Stop guessing.
9. Proof in warmth and humidity
Gluten-free dough proofs slow, and a dry kitchen makes it worse — the surface skins over before the dough ever rises. You don't need a proofing box to fix that. Put a pot of just-boiled water in your cold oven and leave the oven light on: the water throws off heat and steam, and the bulb keeps it gently warm. If your kitchen runs cold, turn the oven on for sixty seconds, shut it off, then set the pot of hot water inside. You get two things at once — a few degrees of warmth and real humidity — and you'll be surprised how fast the dough wakes up. You're aiming for roughly 80–90°F: warm and steamy, never hot. Push much past 100°F and you start killing the yeast and melting the fat right out of the dough, so warm is the goal, not hot. In the bakery I do the same trick bigger: a plastic tent over one rack with a hot plate underneath and a pot of water on a low simmer. Same idea, more steam.
Where to go next
Those nine cover most of what goes wrong. When you're ready to level up, these two are worth your time:
- Five mistakes sabotaging your gluten-free baking — the quiet ones you don't notice.
- Five things worth the money — where to spend, where to skip.
Bookmark this page and come back to it. And if a bake still fights you, message me — I've probably made that exact mistake, twice.