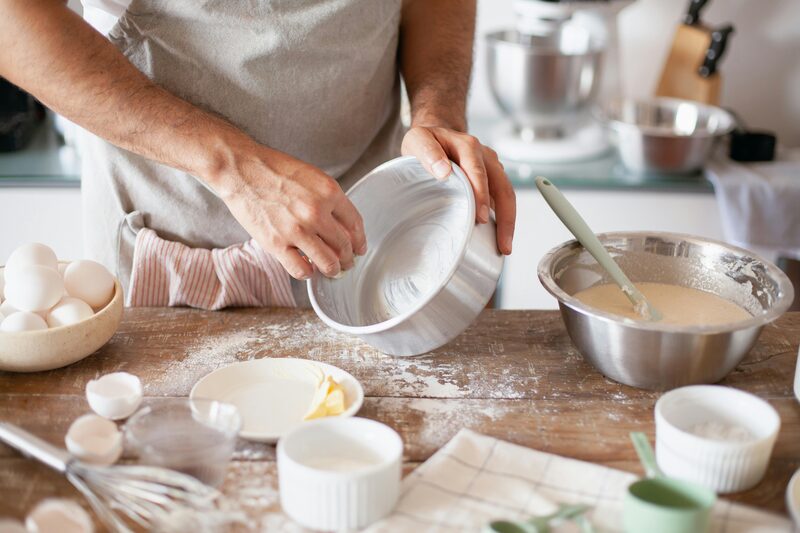
How to Grease Your Pan Like a Pro Baker
There's no single "best" way to oil a baking pan. Spray, brush, oil-plus-flour, parchment, or silicone — a professional baker's guide to picking the right method for every situation.
There's no single "best" way to oil a baking pan. What works depends on what you're baking, how much time you have, and whether you're making one cake or a hundred. Keep reading to see which option is best for every situation.
Choosing Your Oil
Before we talk about application methods, let's talk about the oil itself. Any neutral oil with a high smoke point will work—organic high-oleic sunflower oil, canola, vegetable oil, avocado oil. Baking generates heat, and if your oil smokes during the bake, you're activating carcinogens and filling your oven with a smoky smell that'll linger in your baked goods. All you have to do is use something with a smoke point above your oven temperature.
The Spray Method
Cooking spray is the fastest option, and for that reason alone, it dominates home kitchens and commercial bakeries alike. You get even coverage in under five seconds, and cleanup is minimal. The downside is that consistency can be hit or miss. Sprays don't always coat the corners and edges evenly, and if you oversaturate, you end up with pooling oil that can create greasy spots on your baked goods. There's also the environmental and practical consideration of aerosol cans.
For gluten-free baking, where batter is often stickier and less forgiving, spray alone might not be enough insurance. Use spray if you're in a hurry, but pair it with parchment paper if you're making something delicate.
The Brush Method
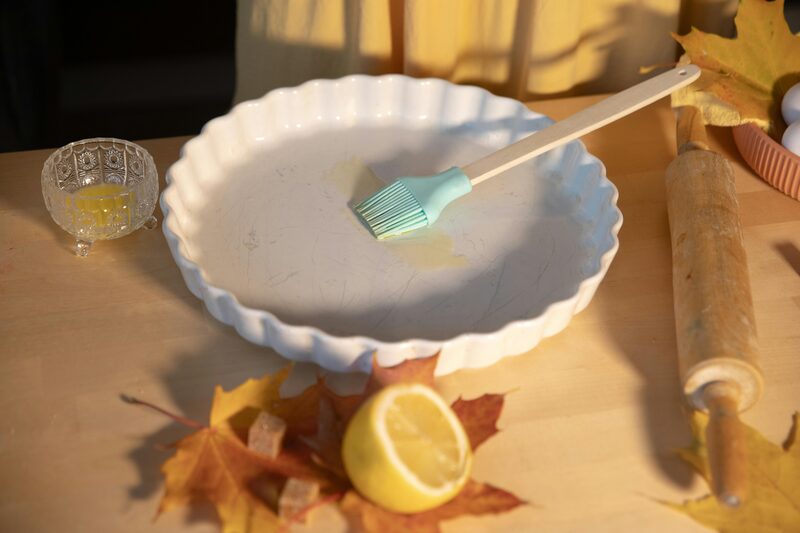
A pastry brush gives you precision and control. You can see exactly where the oil is going, ensure every corner gets coverage, and use the minimum amount necessary. This is especially useful when you're working with specialty pans—loaf molds, tube pans, tartines—where spray can't reach easily.
Use silicone brushes. Most traditional pastry brushes are made with pig hair, which isn't kosher or halal, and the bristles shed constantly. After a few uses, you're finding loose hairs in your batter. Silicone brushes are suitable for all dietary requirements, and they last through dozens of uses without degradation.
The trade-off is time. Brushing takes longer than spraying, especially when you're prepping multiple pans. But if you're doing smaller batches or want to dial in the exact amount of oil, it's worth it. I reach for the brush when I'm making a single cake or working with irregularly shaped molds.
The Paper Towel Method
Tear off a square of paper towel, dip it in oil, and wipe the pan down. Honestly, I only do this at home when I have nothing else available, and it's messier than I'd like. If you're committed to this method, use a cotton cloth instead and wash it between uses. You'll get the same control as paper towels, but you're eliminating waste and getting a reusable tool. It's more sustainable and actually cleaner in practice.
The paper towel version works in a pinch, but it's not my first choice, and it definitely isn't what I'd recommend for consistent results in any production setting.
The Oil Plus Flour Method
This is the gold standard for release reliability. You oil the pan, then dust it lightly with flour. The flour particles stick to the oil and create a barrier that prevents baked goods from adhering to the pan surface. It's not just about lubrication—it's about creating a release zone. This works the best for non-stick performance.
For gluten-free baking, use your gluten-free flour blend rather than all-purpose. The same principle applies. This method takes a bit longer than spray alone, but the payoff is significant: less sticking, more reliable release, and a baked good that looks better when it comes out of the pan.
Use this method for any cake where appearance matters—layered cakes, decorative molds, anything that needs to emerge intact and undamaged. The small amount of extra time is worth avoiding a stuck cake that tears apart.
The Oil Plus Parchment Method
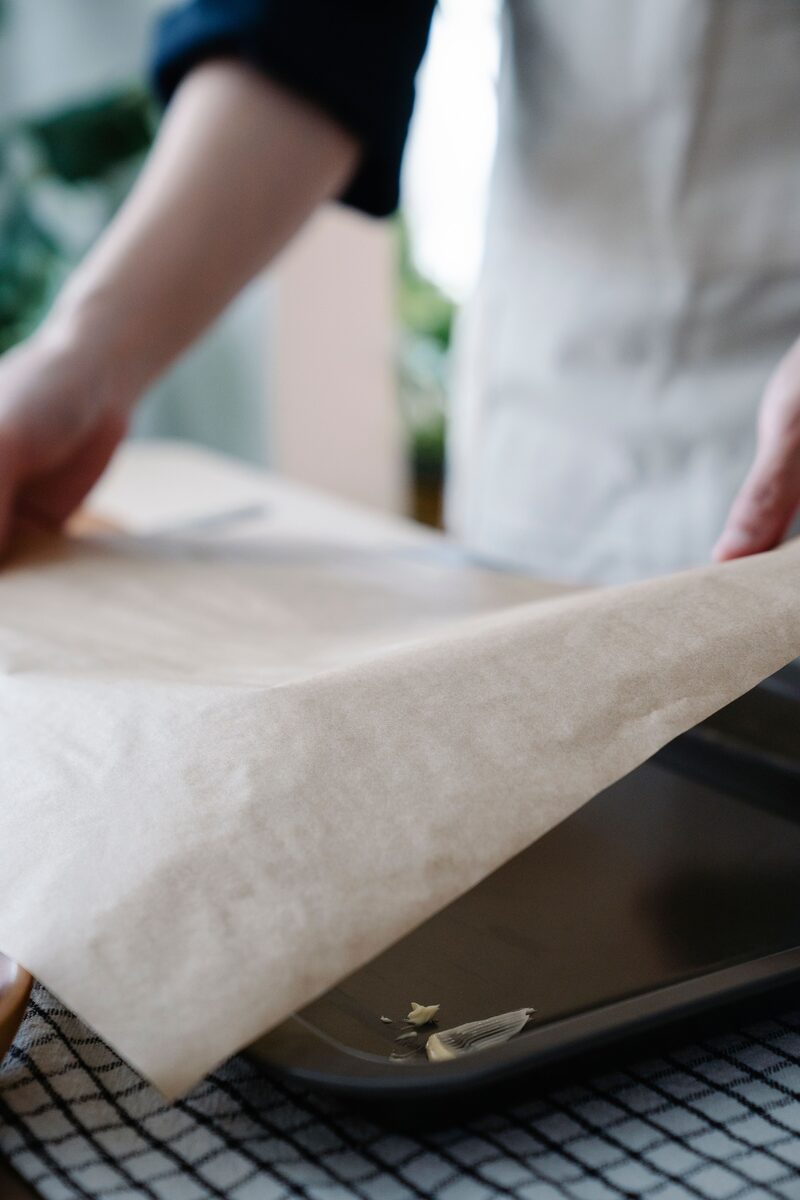
Line the pan with parchment paper after oiling, and here's the key: oil both sides. This is what we use most at the bakery, especially for brownies and bars. It's the most convenient and the easiest cleanup. You bake, the product releases perfectly, and you have zero pan to clean. There's no comparison for efficiency when you're in production.
The advantage is obvious: your cake will not stick. Oil both the bottom and sides of the parchment so there's no chance of adhesion anywhere. The disadvantage is cost and a slight change to the finished product—parchment-lined baked goods have a smoother, flatter bottom and sometimes less browning where the paper touches the pan.
In a commercial bakery, parchment lining is standard practice for high-volume production because it saves labor on cleanup and demolding. The consistency is worth the material cost. For brownies and bars especially, it's non-negotiable. For home bakers making cakes, it's overkill for most applications, but it's a lifesaver for sticky batters or when you're nervous about release.
Silicone Pans for Stubborn Cakes
If you're dealing with a cake that's prone to sticking—cheesecakes are the classic example—silicone pans are your secret weapon. Oil the silicone lightly, bake your cake, let it cool completely, then freeze it. Once frozen, the cake peels right off the sides. Look for silicone pans with ridges; the edges release even more easily because there's less surface contact between the cake and the pan.
Silicone is forgiving in ways metal isn't, and that flexibility works in your favor. For cheesecakes, brownies, or any dense, sticky cake, it's worth having a silicone pan in rotation. Just remember to always freeze before demolding to get the full advantage of the silicone pan.
Putting It Together
If you're baking one or two cakes at home, use a silicone brush or a reusable cotton cloth. Add parchment if you're worried about sticking or if you're working with a particularly wet batter.
If you're baking in volume, use oil plus parchment with both sides oiled. It's faster than flour dusting, more reliable than spray, and it's what professional bakers rely on because it eliminates cleanup and guarantees consistency.
For gluten-free baking specifically, lean toward the oil-plus-flour method for cakes or parchment for bars and brownies. Gluten-free batters are stickier due to lower gluten content and higher water activity. The extra barrier is insurance against frustration.
For cheesecakes or other notoriously stubborn cakes, reach for a silicone pan, freeze before demolding, and skip the stress entirely.
There's no catch-all solution, so choose based on your context. There's no virtue in using one method for every situation. Professional bakers switch between methods throughout the day. So should you.
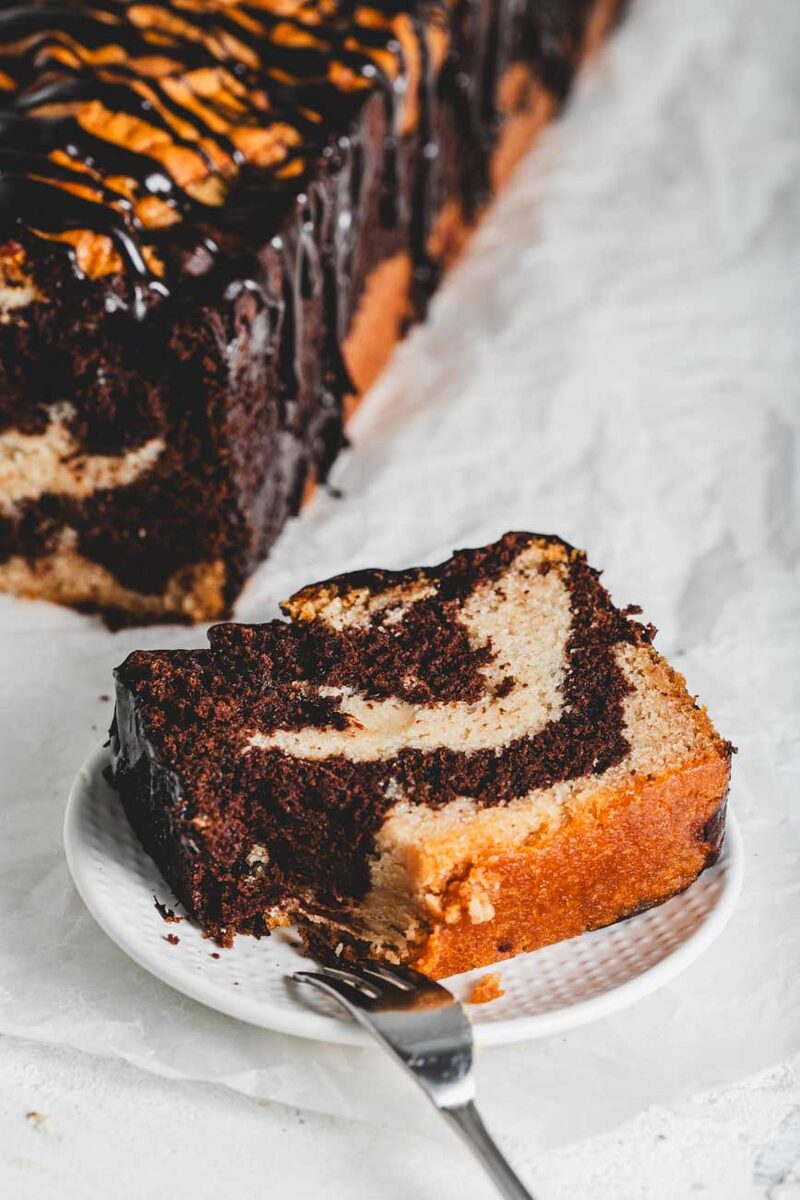
Released clean, professionally baked
At Sensible Edibles Bakery, every loaf and treat is made with expert precision and technique. Vegan and gluten-free bakes that come out of the pan—and taste—exactly right.
Shop at Sensible →