Make Coconut Yogurt at Home
Coconut yogurt is one of those things that sounds complicated until you realize it's just two ingredients and a little patience.
Skip to recipe ↓I’ve been a professional baker for over 20 years. When my vendors can’t come through, I don’t wait — I make it myself. Coconut yogurt is one of those things that sounds complicated until you realize it’s just two ingredients and a little patience.
Coconut Yogurt
Ingredients:
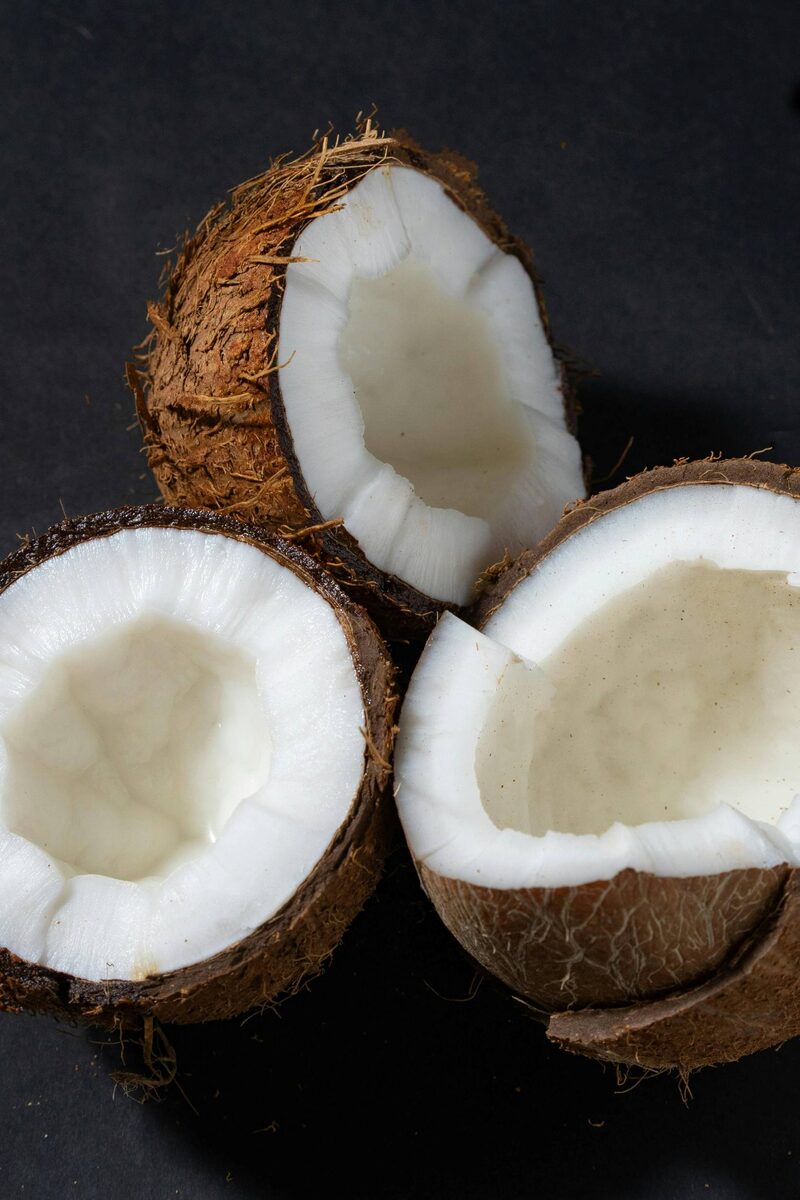
- 2 cans Full-fat canned coconut milk — pure coconut + water only, no gums or stabilizers
- 2 capsules Vegan probiotic capsules — at least 10 billion CFU, multi-strain with Lactobacillus
- OR a few tablespoons of plain store-bought coconut yogurt as an alternative starter
Equipment:
- Saucepan
- Whisk
- Glass jar or bowl
- Cheesecloth or paper towel
- Rubber band
Steps:
-
Warm it up. Pour both cans into a saucepan and warm gently over low heat to around 110°F (43°C) — warm to the touch, not hot. This gives your cultures a head start the moment they hit the milk. Too hot and you’ll kill them on contact.
Why warm it first? You’re setting the stage before the bacteria arrive — warm conditions mean they get to work immediately instead of spending hours just waking up.
-
Add your starter. Open 2 probiotic capsules and whisk the powder directly into the warm milk. If you don’t have that, add in a few tablespoons of plain store-bought coconut yogurt. Whisk until fully combined.
-
Ferment. Pour into a clean glass jar or bowl. Cover loosely with cheesecloth or a paper towel secured with a rubber band. You want it covered but not airtight. Place it in your oven with the oven off and just the light on. The light generates enough warmth to keep fermentation going.
How long? 24 hours is the sweet spot for most people. Leave it to 36–48 hours if you want a more pronounced tangy flavor. Taste it and decide.
-
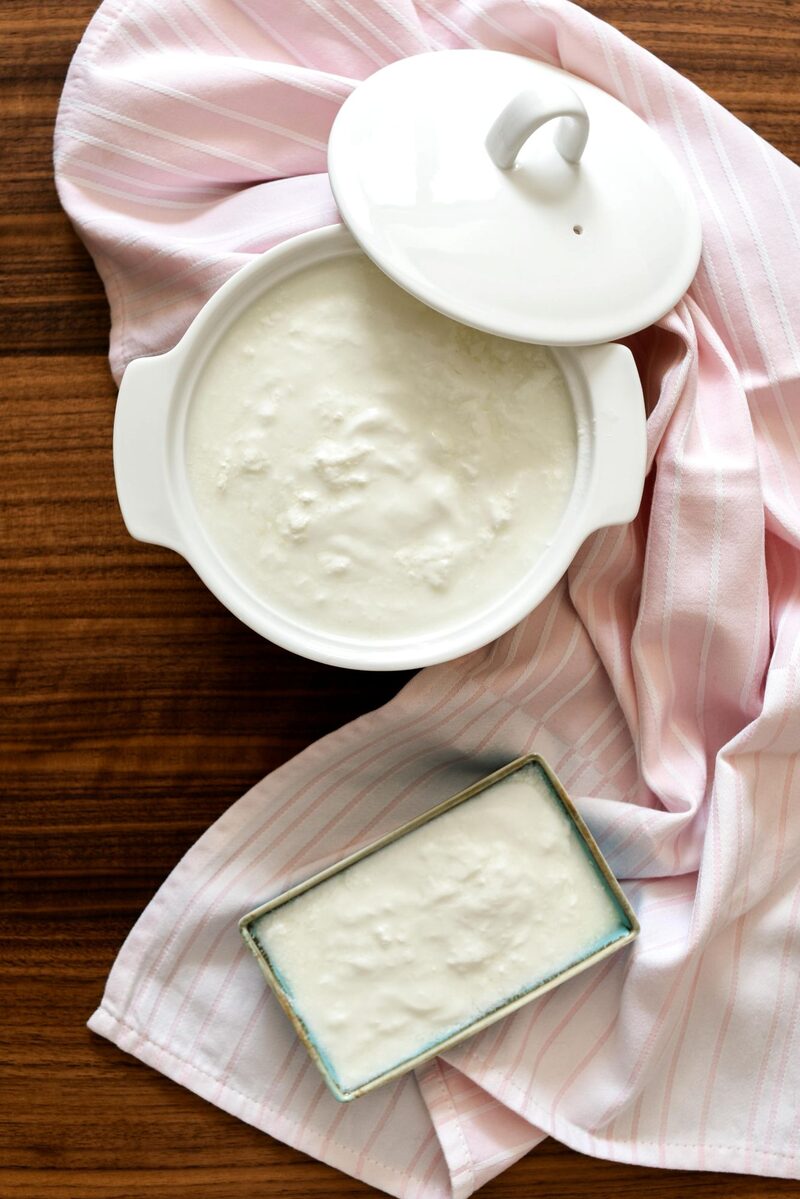
Refrigerate and set. When you pull it out it’ll look loose — that’s normal. Seal the jar and refrigerate for at least 4 hours. It’ll thicken up considerably as it cools. That’s your finished yogurt.
-
Save your starter. Before you use up the batch, set aside 2–3 tablespoons. Next time, use that as your starter instead of buying more probiotic capsules. The culture carries over and keeps getting stronger.
Tips:
- Liquid pooling on top is normal separation. Stir it back in or drain it off depending on how thick you want the final texture.
- Check your probiotic label for dairy fillers like lactose or whey. Some probiotics are cultured on dairy even if the main ingredient isn’t. Look for vegan-certified if you’re being strict. The bacteria themselves are not animal-derived — what you’re watching out for is the growth medium and fillers used during manufacturing.
- Carton coconut milk will not work well here. It’s too watered down and won’t give you a thick set. Stick to full-fat canned.
- Once you have a reliable batch going, you never need to buy probiotics for this again. Just keep feeding the culture forward.
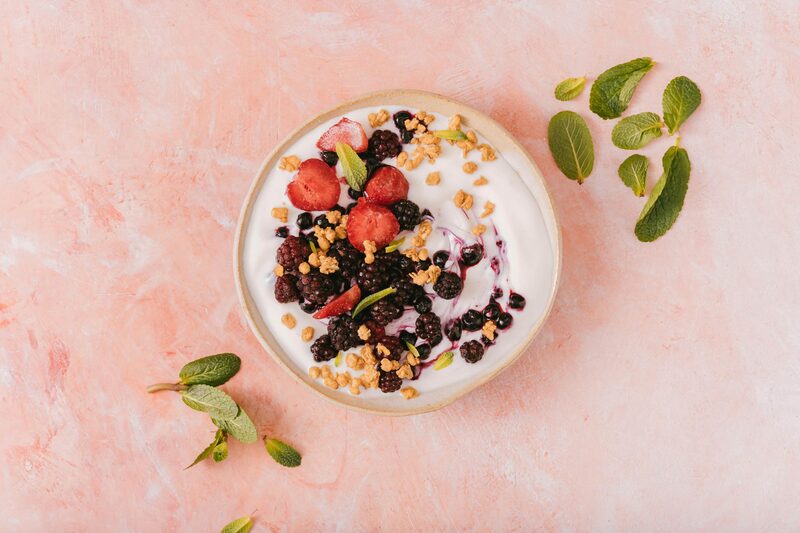
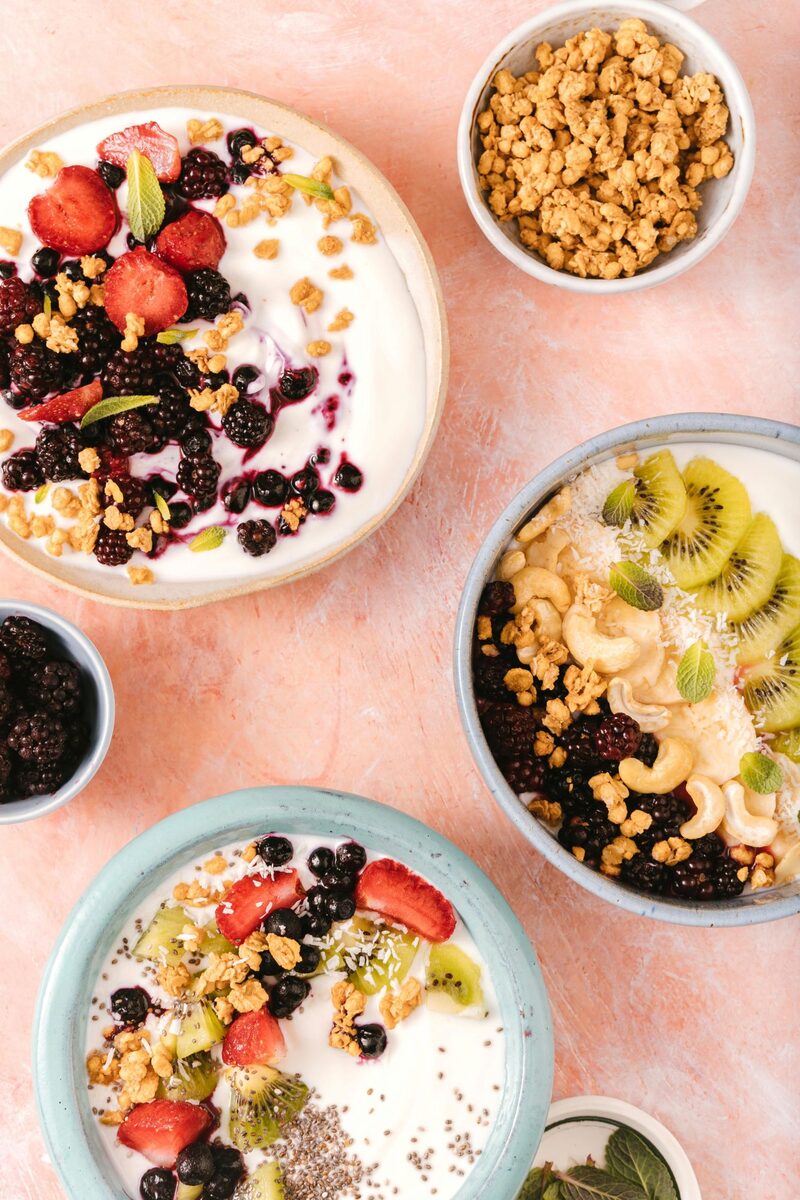
Taste it in Action
Wholesome vegan and gluten-free bakes, fresh from our kitchen.
Shop at Sensible →