DIY Yogurt Substitute for Baking (When You’re in a Pinch)
When a recipe calls for yogurt and you’re baking it, you don’t need yogurt. You need what yogurt does.
Skip to recipe ↓Here’s a truth most recipes won’t tell you: when a formula calls for yogurt and you’re baking it, you don’t actually need yogurt. You need what yogurt does for the batter.
Moisture. Fat. Structure. Tang.
That’s it.
The oven kills the probiotics anyway, so unless I’m building something raw or fermented, I’m not waiting a day to culture yogurt or running out to the store. I just engineer the four things I actually need.
We use this hack all the time at the bakery. Plant-based yogurt is expensive and hard to source consistently, and culturing our own takes a day or two we don’t always have. This is a lifesaver.
What Yogurt Is Really Doing
Real yogurt brings fat (richness and tenderness), protein and viscosity (body and structure), and acid (tang, plus a reaction with baking soda for lift). If you can hit those four marks with shelf staples, you’ve got a working substitute.
Coconut Milk
Full-fat coconut milk delivers the fat — the richness and tenderness yogurt would have brought. Use the canned stuff, not the carton drink. The carton is mostly water and won’t hit the fat percentage you need.
Psyllium Husk
This is doing the work yogurt’s proteins normally do: binding water and building structure. A small amount turns the coconut milk into something with body, not just liquid. Without it, your batter goes thin and the crumb suffers.
Apple Cider Vinegar
Yogurt’s tang comes from lactic acid. ACV gives you that same bright acidic note, and crucially it activates baking soda the same way lactic acid does. If the original recipe leans on yogurt for lift, the vinegar carries that load.
Tapioca Starch (Optional)
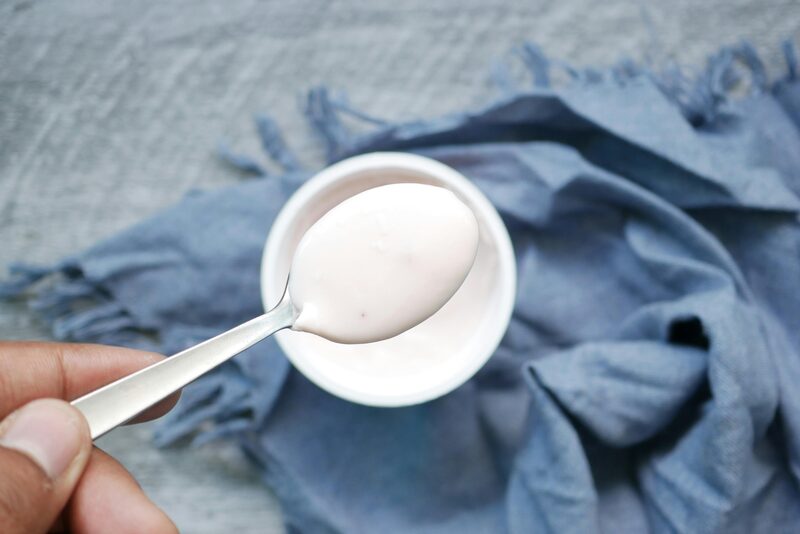
If you want a thicker, Greek-yogurt consistency — for batters that call for strained yogurt, or for use as a topping — whisk in a little tapioca. Skip it if your recipe wants regular yogurt thickness.
A Pinch of Salt and Vanilla (Optional but Worth It)
Strictly optional, but a small scrape of vanilla bean paste and a pinch of salt turn this from a functional substitute into something that actually tastes like real coconut yogurt. Same logic as salt in caramel — it sharpens everything.
DIY Yogurt Substitute
Equipment
- Medium bowl
- Whisk
- Kitchen scale
Ingredients
| Ingredient | Weight | % |
|---|---|---|
| Full-fat coconut milk | 400g | 94.79% |
| Psyllium husk | 8g | 1.90% |
| Apple cider vinegar | 14g | 3.32% |
| Total | 422g | 100% |
For a thicker, Greek-style consistency, whisk in 20g tapioca starch with the rest. For a closer-to-real coconut-yogurt flavor, add a small scrape of vanilla bean paste and a pinch of fine sea salt.
Sourdough Version (Advanced)
If you need real lift — the kind active cultures bring — swap the vinegar for an active sourdough starter. This is what I reach for when a recipe is really leaning on the yogurt’s leavening contribution.
| Ingredient | Weight | % |
|---|---|---|
| Full-fat coconut milk | 400g | 90.30% |
| Active sourdough starter | 35g | 7.90% |
| Psyllium husk | 8g | 1.80% |
| Total | 443g | 100% |
Warning: Don’t taste the sourdough version raw — it contains live, unbaked starter. It’s meant to go into the oven. Shelf life drops considerably with starter in the mix, so make what you need and use it within a day.
Instructions
- Whisk the coconut milk and psyllium husk together in a bowl until the psyllium is evenly dispersed with no clumps. This is the most important step — clumped psyllium turns into gel beads in your batter.
- Add the apple cider vinegar and keep whisking. The mixture will start thickening immediately as the psyllium hydrates and the acid does its work.
- If using tapioca starch, whisk it in now until smooth. Same with the optional vanilla and salt — add them at this stage.
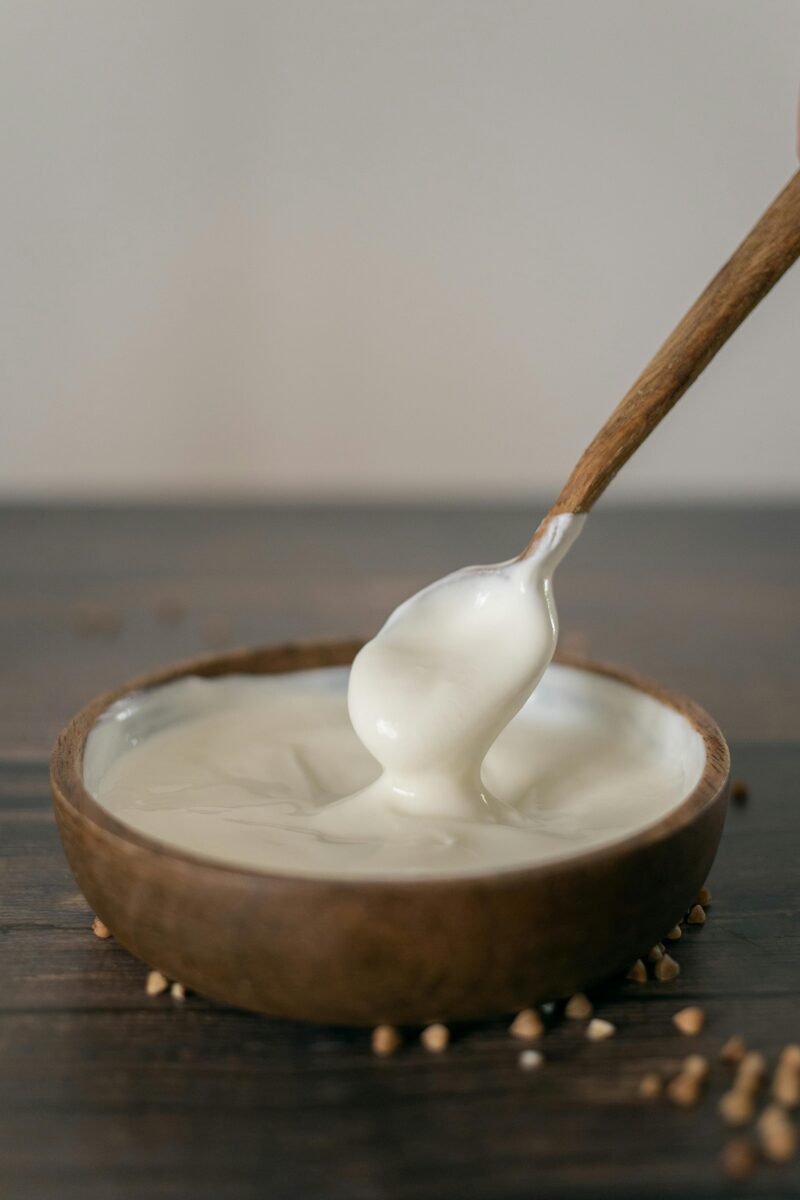
- Let the mixture rest 5 to 10 minutes at room temperature so the psyllium fully hydrates and the body sets up. You can also use it straight away if you’re in a real hurry — it’ll keep thickening in the batter.
- Use straight into your recipe in place of the yogurt called for, gram-for-gram.
- Store leftovers covered in the fridge for 4 to 5 days. Whisk briefly before reusing — it may have set up further.
Sourdough Version Instructions
- Whisk the coconut milk and psyllium husk together as above.
- Fold in the active sourdough starter with a spatula — don’t whisk it hard or you’ll knock out the air.
- Cover and rest in the fridge overnight before use. The starter needs time to do its thing.
- Use within 1 to 2 days, straight into a recipe that’s headed for the oven.
When to Use Which
Use the vinegar version as your default — fast, reliable, neutral, and it handles 95% of what I’m doing. Reach for the sourdough version only when you need real lift and you know what you’re doing with live cultures.
Either way, you’re not making yogurt. You’re engineering the parts of yogurt your recipe actually needs.
Common Failures and Fixes
- Gritty texture in the bake? You added the psyllium dry to the batter instead of letting it hydrate in the coconut milk first. Always pre-mix the substitute fully before adding it to anything else.
- Mixture too thick? You used too much psyllium or skipped the rest. Whisk in a splash more coconut milk to loosen it.
- Mixture too thin? Either you used carton coconut milk (mostly water) instead of canned full-fat, or you didn’t let it rest. Give it 10 minutes and check again.
- No tang in the bake? Make sure you’re using real apple cider vinegar, not the cheap distilled stuff. The flavor is night and day.
- Sourdough version didn’t lift? Your starter wasn’t active enough. Feed it 4–6 hours before you mix and use it when it’s peaked.
That’s the whole trick.